4.안드로이드 Fragment - navigationBar 작업 + [소스코드]
1.build.gradle에 머테리얼 디자인 추가
//메테리얼 디자인
implementation 'com.google.android.material:material:1.1.0'
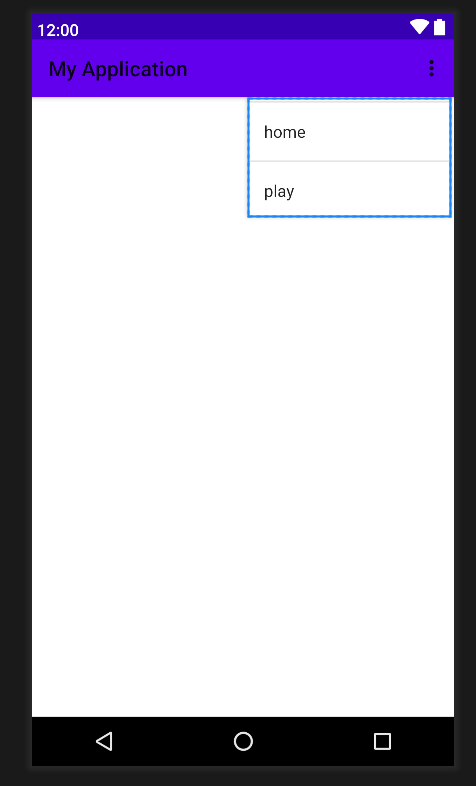
2.menu 폴더에 bottom_nav_menu.xml 생성
<?xml version="1.0" encoding="utf-8"?>
<menu xmlns:android="http://schemas.android.com/apk/res/android">

    <item
        android:id="@+id/menu_home"
        android:title="home"
        android:icon="@drawable/ic_baseline_home_24" />

    <item
        android:id="@+id/menu_play"
        android:title="play"
        android:icon="@drawable/ic_baseline_play_circle_filled_24" />

</menu>
3.layout폴더에 fragment_home.xml 추가
<?xml version="1.0" encoding="utf-8"?>
<androidx.constraintlayout.widget.ConstraintLayout xmlns:android="http://schemas.android.com/apk/res/android"
xmlns:app="http://schemas.android.com/apk/res-auto"
xmlns:tools="http://schemas.android.com/tools"
android:layout_width="match_parent"
android:layout_height="match_parent"
android:background="#956D6D">
<TextView
android:id="@+id/textView"
android:layout_width="wrap_content"
android:layout_height="wrap_content"
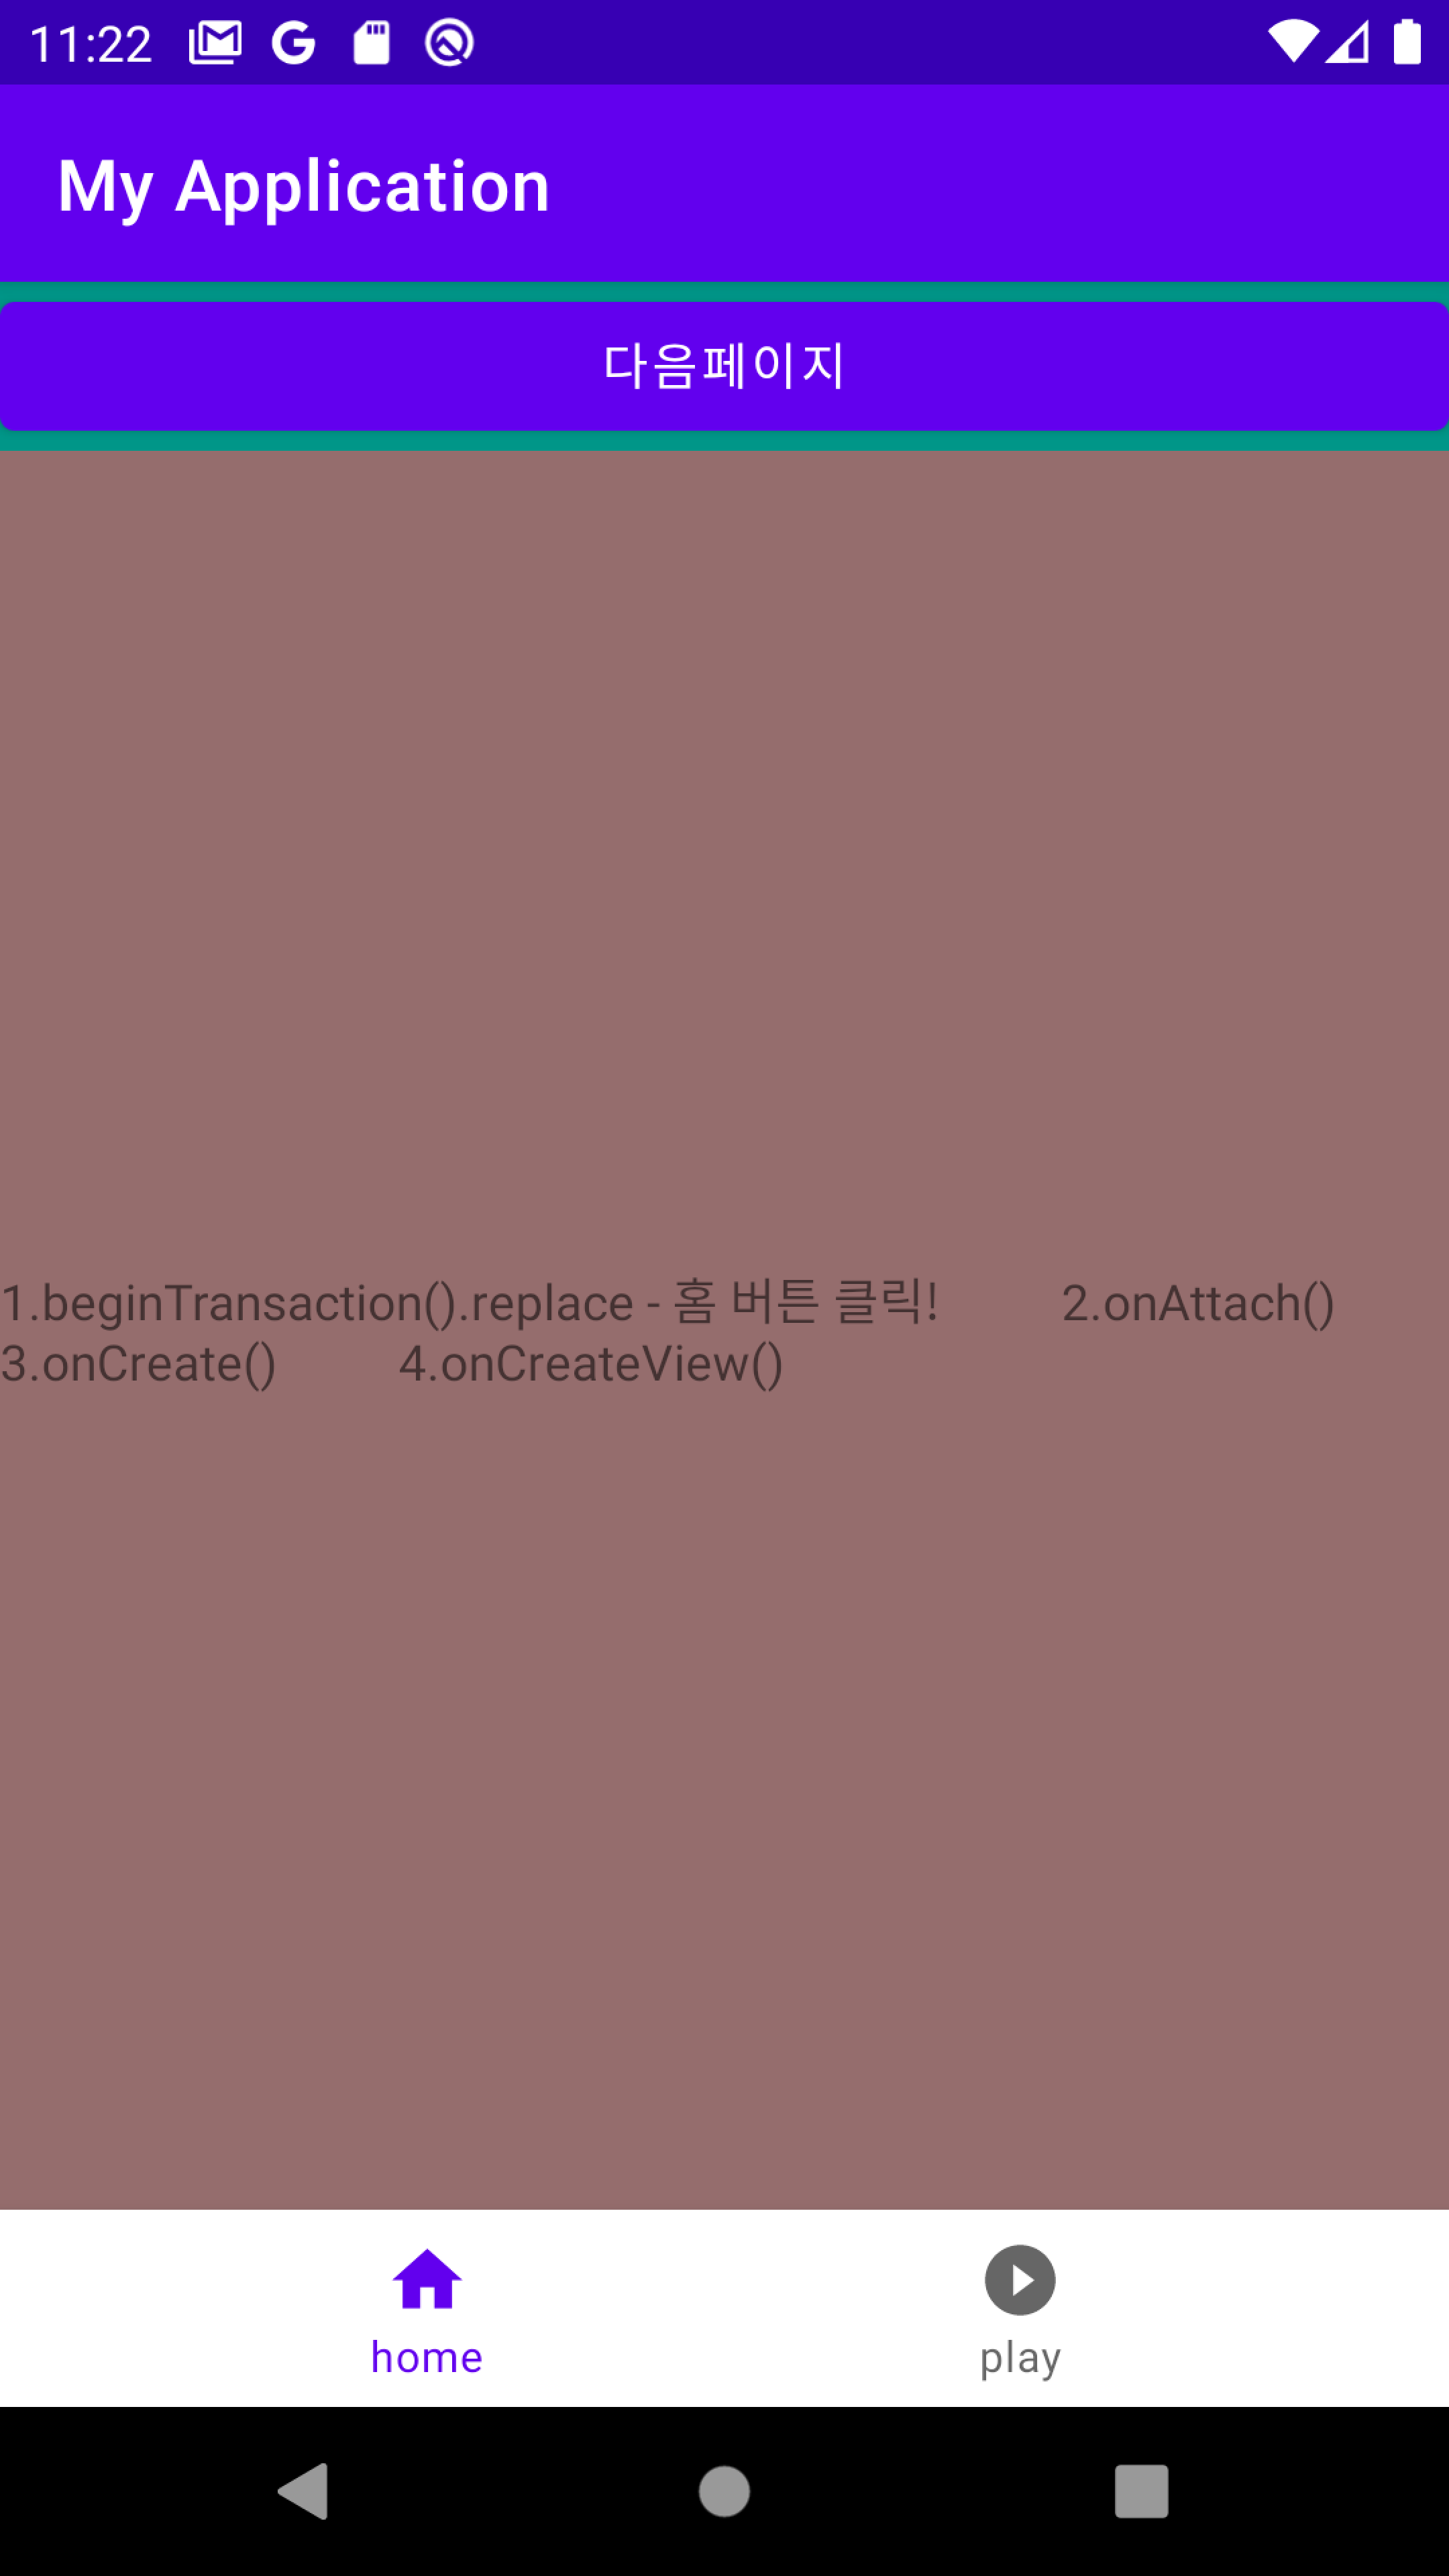
android:text="1.beginTransaction().replace - 홈 버튼 클릭!
2.onAttach()
3.onCreate()
4.onCreateView()"
app:layout_constraintBottom_toBottomOf="parent"
app:layout_constraintEnd_toEndOf="parent"
app:layout_constraintStart_toStartOf="parent"
app:layout_constraintTop_toTopOf="parent" />
</androidx.constraintlayout.widget.ConstraintLayout>
4.layout폴더에 fragment_play.xml 추가
<?xml version="1.0" encoding="utf-8"?>
<androidx.constraintlayout.widget.ConstraintLayout xmlns:android="http://schemas.android.com/apk/res/android"
    xmlns:app="http://schemas.android.com/apk/res-auto"
    xmlns:tools="http://schemas.android.com/tools"
    android:layout_width="match_parent"
    android:layout_height="match_parent"
    android:background="#FFC107">

    <TextView
        android:id="@+id/textView"
        android:layout_width="wrap_content"
        android:layout_height="wrap_content"
        android:text="1.beginTransaction().replace - 플레이 버튼 클릭!
 2.onAttach()
 3.onCreate()
 4.onCreateView()"
        app:layout_constraintBottom_toBottomOf="parent"
        app:layout_constraintEnd_toEndOf="parent"
        app:layout_constraintStart_toStartOf="parent"
        app:layout_constraintTop_toTopOf="parent" />
</androidx.constraintlayout.widget.ConstraintLayout>
5.activitiy_main.xml에 frameLayout 추가 프레임레이아웃의 아이디를 fragments_frame 로 준다.
<?xml version="1.0" encoding="utf-8"?>
<RelativeLayout xmlns:android="http://schemas.android.com/apk/res/android"
    xmlns:app="http://schemas.android.com/apk/res-auto"
    xmlns:tools="http://schemas.android.com/tools"
    android:layout_width="match_parent"
    android:layout_height="match_parent"
    android:background="#009688"
    android:orientation="horizontal"
    tools:context=".MainActivity">


    <Button
        android:id="@+id/buttonOne"
        android:layout_alignParentTop="true"
        android:layout_width="match_parent"
        android:layout_height="wrap_content"
        android:text="다음페이지" />


    <FrameLayout
        android:id="@+id/fragments_frame"
        android:layout_width="match_parent"
        android:layout_height="match_parent"
        android:layout_above="@id/bottom_nav"
        android:layout_below="@id/buttonOne"
        android:layout_centerHorizontal="true"
        android:background="@color/cardview_shadow_end_color" />


    <com.google.android.material.bottomnavigation.BottomNavigationView
        app:menu="@menu/bottom_nav_menu"
        android:layout_width="match_parent"
        android:layout_height="wrap_content"
        android:id="@+id/bottom_nav"
        android:layout_alignParentBottom="true"
        android:layout_centerHorizontal="true"
        android:background="#fff"
    />


</RelativeLayout>
6.Fragmet()를 상속받는 HomeFragment class 작성
package com.example.myapplication.fragment

import android.content.Context
import android.os.Bundle
import android.util.Log
import android.view.LayoutInflater
import android.view.View
import android.view.ViewGroup
import androidx.fragment.app.Fragment
import com.example.myapplication.R

//Fragment () 를 상속받는다!
class HomeFragment : Fragment(){

    //싱글톤 패턴
    companion object {
        const val TAG : String = "로그"

        fun newInstance():HomeFragment {
            return HomeFragment()
        }
    }

    // 메모리에 올라갔을때
    override fun onCreate(savedInstanceState: Bundle?) {
        super.onCreate(savedInstanceState)
        Log.d(TAG, "HomeFragment - onCreate() called")
    }

    //이 프레그먼트를 안고있는 엑티비티에 붙었을때
    override fun onAttach(context: Context) {
        super.onAttach(context)
        Log.d(TAG, "HomeFragment - onAttach() called")
    }

    // 뷰가 생성되었을때 프레그먼트와 레이아웃을 연결시켜 주는 부분이다.
    override fun onCreateView(
        inflater: LayoutInflater,
        container: ViewGroup?,
        savedInstanceState: Bundle?
    ): View? {
        Log.d(TAG, "HomeFragment - onCreateView() called")
        val view = inflater.inflate(R.layout.fragment_home, container, false)
        return view
    }

}
7.Fragmet()를 상속받는 PlayFragment class 작성
package com.example.myapplication.fragment

import android.content.Context
import android.os.Bundle
import android.util.Log
import android.view.LayoutInflater
import android.view.View
import android.view.ViewGroup
import androidx.fragment.app.Fragment
import com.example.myapplication.R

class PlayFragment : Fragment(){

    companion object {
        const val TAG : String = "로그"

        fun newInstance():PlayFragment {
            return PlayFragment()
        }
    }

    // 메모리에 올라갔을때
    override fun onCreate(savedInstanceState: Bundle?) {
        super.onCreate(savedInstanceState)
        Log.d(TAG, "PlayFragment - onCreate() called")

    }

    //이 프레그먼트를 안고있는 엑티비티에 붙었을때
    override fun onAttach(context: Context) {
        super.onAttach(context)
        Log.d(TAG, "PlayFragment - onAttach() called")

    }

    // 뷰가 생성되었을때 프레그먼트와 레이아웃을 연결시켜 주는 부분이다.
    override fun onCreateView(
        inflater: LayoutInflater,
        container: ViewGroup?,
        savedInstanceState: Bundle?
    ): View? {
        Log.d(TAG, "PlayFragment - onCreateView() called")
        val view = inflater.inflate(R.layout.fragment_play, container, false)
        return view
    }

}
8.MainActivity에서 탭바 초기화 및 호출
package com.example.myapplication

import android.content.Intent
import androidx.appcompat.app.AppCompatActivity
import android.os.Bundle
import android.util.Log
import androidx.activity.result.ActivityResultLauncher
import androidx.activity.result.contract.ActivityResultContract
import androidx.activity.result.contract.ActivityResultContracts
import com.example.myapplication.fragment.HomeFragment
import com.example.myapplication.fragment.PlayFragment
import com.google.android.material.bottomnavigation.BottomNavigationView
import kotlinx.android.synthetic.main.activity_main.*

class MainActivity : AppCompatActivity() {


    private lateinit var homeFragment : HomeFragment
    private lateinit var playFragment: PlayFragment

    companion object{
        const val TAG:String = "로그"
    }


    //서브화면에서 전달한 데이터를 받기위한 전역변수
    private lateinit var getResultText:ActivityResultLauncher<Intent>

    // 엑티비티가 생성되었을때
    override fun onCreate(savedInstanceState: Bundle?) {
        super.onCreate(savedInstanceState)
        //레이아웃을 설정
        setContentView(R.layout.activity_main)


        // * 탭바 최초 하면 add 처리
        homeFragment = HomeFragment.newInstance()
        supportFragmentManager.beginTransaction().add(R.id.fragments_frame,homeFragment).commit()
        // * 탭바 초기화
        initNavBar()


        //서브화면에서 전달한 데이터 받기
        getResultText = registerForActivityResult(ActivityResultContracts.StartActivityForResult()){ result ->
            if(result.resultCode == RESULT_OK){
                val mString = result.data?.getStringExtra("param2")
                Log.d(Constant.TAG , "registerForActivityResult : ${mString}")
            }
        }


        //서브화면으로 데이터 전달하기
        buttonOne.setOnClickListener {
            val intent = Intent(this,SubVC::class.java)
            intent.putExtra("param","실제값입니다!")
            getResultText.launch(intent)
        }


        loadData()

        RetrofitManager.instance.searchTest {
            resState , response ->
            when(resState){
                RESPONSE_STATE.OK -> {
                    Log.d(Constant.TAG , "api 호출 성공 : ${response}")
                }
                RESPONSE_STATE.FAIL ->{
                    Log.d(Constant.TAG , "api 호출 실패 : ${response}")
                }
            }
        }
    }

    // * 탭바 초기화
    private fun initNavBar(){
        bottom_nav.run {
            setOnItemSelectedListener {
                when(it.itemId){
                    R.id.menu_home ->{
                        Log.d(TAG, "beginTransaction().replace - 홈버튼 클릭!")
                        homeFragment = HomeFragment.newInstance()
                        supportFragmentManager.beginTransaction().replace(R.id.fragments_frame,homeFragment).commit()
                    }

                    R.id.menu_play ->{
                        Log.d(TAG, "beginTransaction().replace - 플레이 버튼 클릭!")
                        playFragment = PlayFragment.newInstance()
                        supportFragmentManager.beginTransaction().replace(R.id.fragments_frame,playFragment).commit()
                    }
                }
                true
            }
        }
    }


    // 데이터 불러오기
    private fun loadData(){
        val pref = getSharedPreferences("pref", 0)
        //첫번째 인자는 key, 두번째 인자는 데이터가 존재하지 않을경우 대체값.
        Log.d(Constant.TAG , "저장된 데이터 : ${pref.getString("name" , "")}")
    }

    // 데이터 저장하기
    private fun saveData(){
        val pref = getSharedPreferences("pref", 0)
        val edit = pref.edit() //수정모드
        // 첫번째 인자에는 키값, 두번째 인자는 저장할 값
        edit.putString("name" , "kkk")
        edit.apply()
    }


    override fun onDestroy() {
        super.onDestroy()
        saveData()
    }

}
안드로이드 1-4까지 자료
'안드로이드' 카테고리의 다른 글
| 5.안드로이드 리싸이클러뷰 + [소스코드] (1) | 2022.02.04 |
|---|---|
| 3.안드로이드 Intent 데이터와 화면전환 (0) | 2022.02.02 |
| 2.안드로이드 getSharedPreferences (0) | 2022.02.02 |
| 1.안드로이드 retrofit 사용 따라하기 (0) | 2022.02.01 |

